How Universal is Adobe Universal Editor
Adobe's new Universal Editor is built for editing content no matter which type of frontend application is used. It is completely decoupled from AEM but integrates nicely with it.

Next.js App
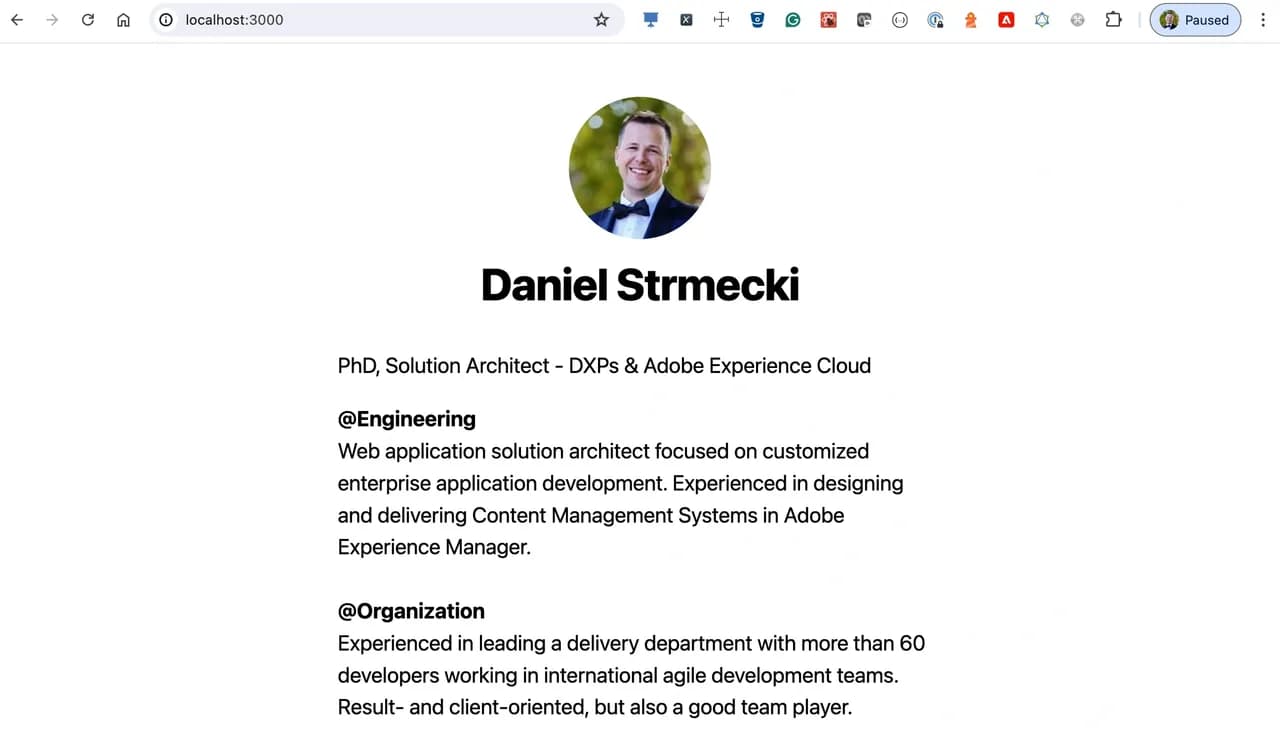
We'll start by creating a simple frontend application following the official Next.js tutorial. Our application contains a home page with author details, and lists of blog posts published. Blog posts are not edited on the homepage, but use the content from child pages and link to them.
Local Setup
We can start our Next.js application by simply running npm run dev. Next, we'll need to run AEM author and AEM publish local instances to define content. We can use AEM Pages or Content Fragments to define the required data structure in JCR. Our homepage should contain the author's name (text), author's image (media), description (richtext), and links to articles (reference). The article page will contain the title (text), author name (text), publication date (date-time), and text (richtext). When we define the sample content in AEM, we can download and start the local Universal Editor service by running node universal-editor-service.cjs. Since Universal Editor requires an HTTPS connection, we can make use of a Local SSL Proxy to expose the AEM author on port 8443 and the Next.js app on port 3001. Now, we have everything in place locally to connect our Next.js application with the Universal Editor.
Define a Connection
The first step to make our application editable via Adobe Universal Editor is to add the React Helmet Async library to our App file. This is a generic library used for making changes to the document head. We'll use it to load the Universal Editor script and provide metadata for connecting to our local AEM author instance and local Universal Editor service.
We've now successfully connected our Next.js app with the Universal Editor and local AEM author, but we still cannot edit any components. To enable editing, we'll need to add a few data attributes to every editable HTML element in the Next.js app. First, we set the data-aue-prop attribute to define the property name that corresponds to the property name in JCR. Next, we set the data-aue-resource attribute to define the path to the AEM resource where the property should be stored. After that, we also need to set data-aue-type attribute to define the type of property, for example, text, richtext, media, etc. Finally, we can set the data-aue-label attribute to define the label to display in the editor. At this point, we have everything we need to start editing our application with the Universal Editor.
Edit Content
Let's open the Universal Editor in our browser and enter the URL to the application we want to edit, in our case localhost:3001. In case you haven't changed the default AEM admin user password, in the top right corner set the authentication header to value: Basic YWRtaW46YWRtaW4=. Now you should be able to edit each component on the page without any errors.
Conclusion
In this quick tutorial, we've seen that the Adobe Universal Editor can be quickly set up for editing any type of frontend application. Since it relies on standard HTML, all we need to do is add the required scripts, define metadata and a few custom data attributes. We can safely conclude that Adobe's new Universal Editor can truly be used universally with different frontends. However, one thing we should note is that customizing the Universal Editor UI may not be as simple as we are used to with AEM. At the moment there is no simple way to add custom JavaScript to the editor. However, extensions can be created via App Builder. This approach can be more time-consuming so we hope Adobe will soon update the documentation with more examples of UI extensions.